Tag Archives: Cooking

Mellow yellow

All the lemon trees are laden, their branches groaning under their loads and everyone looks pained at the thought of wasting such abundance.

Armed with about 30kg of lemons, the Kitchen Gardeners tackled the job at their July workshop, generously hosted by Barb.

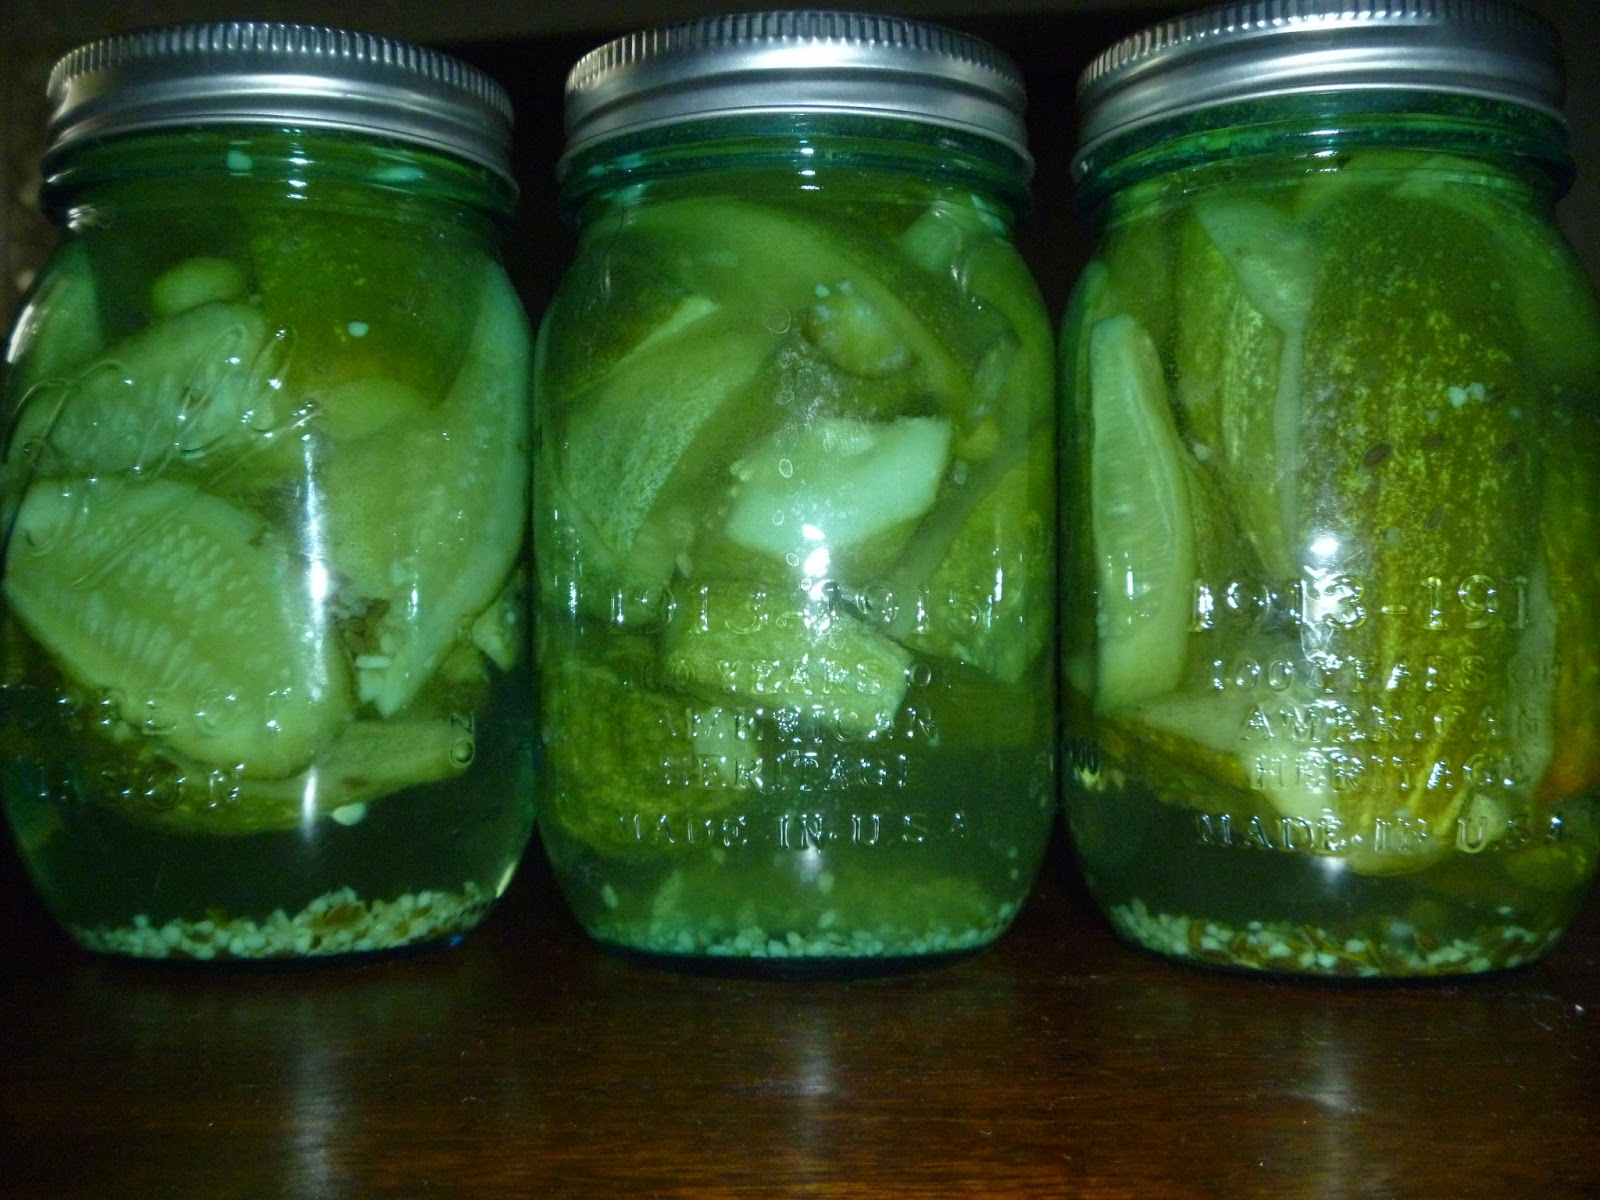
First up, preserved lemons.

IMG_1356They’re very simple to make and have lots and lots of culinary uses.

As well as the two recipes on the linked document, a quarter of preserved lemon rind, chopped finely adds a sophisticated undertone to beef casseroles and soups.

They’re lovely in chicken dishes and with fish.

Just don’t eat the flesh of the lemon, it’s horrible.  The rind is the good stuff!

Lemons are great to eat, but their uses don’t stop there!

IMG_1357
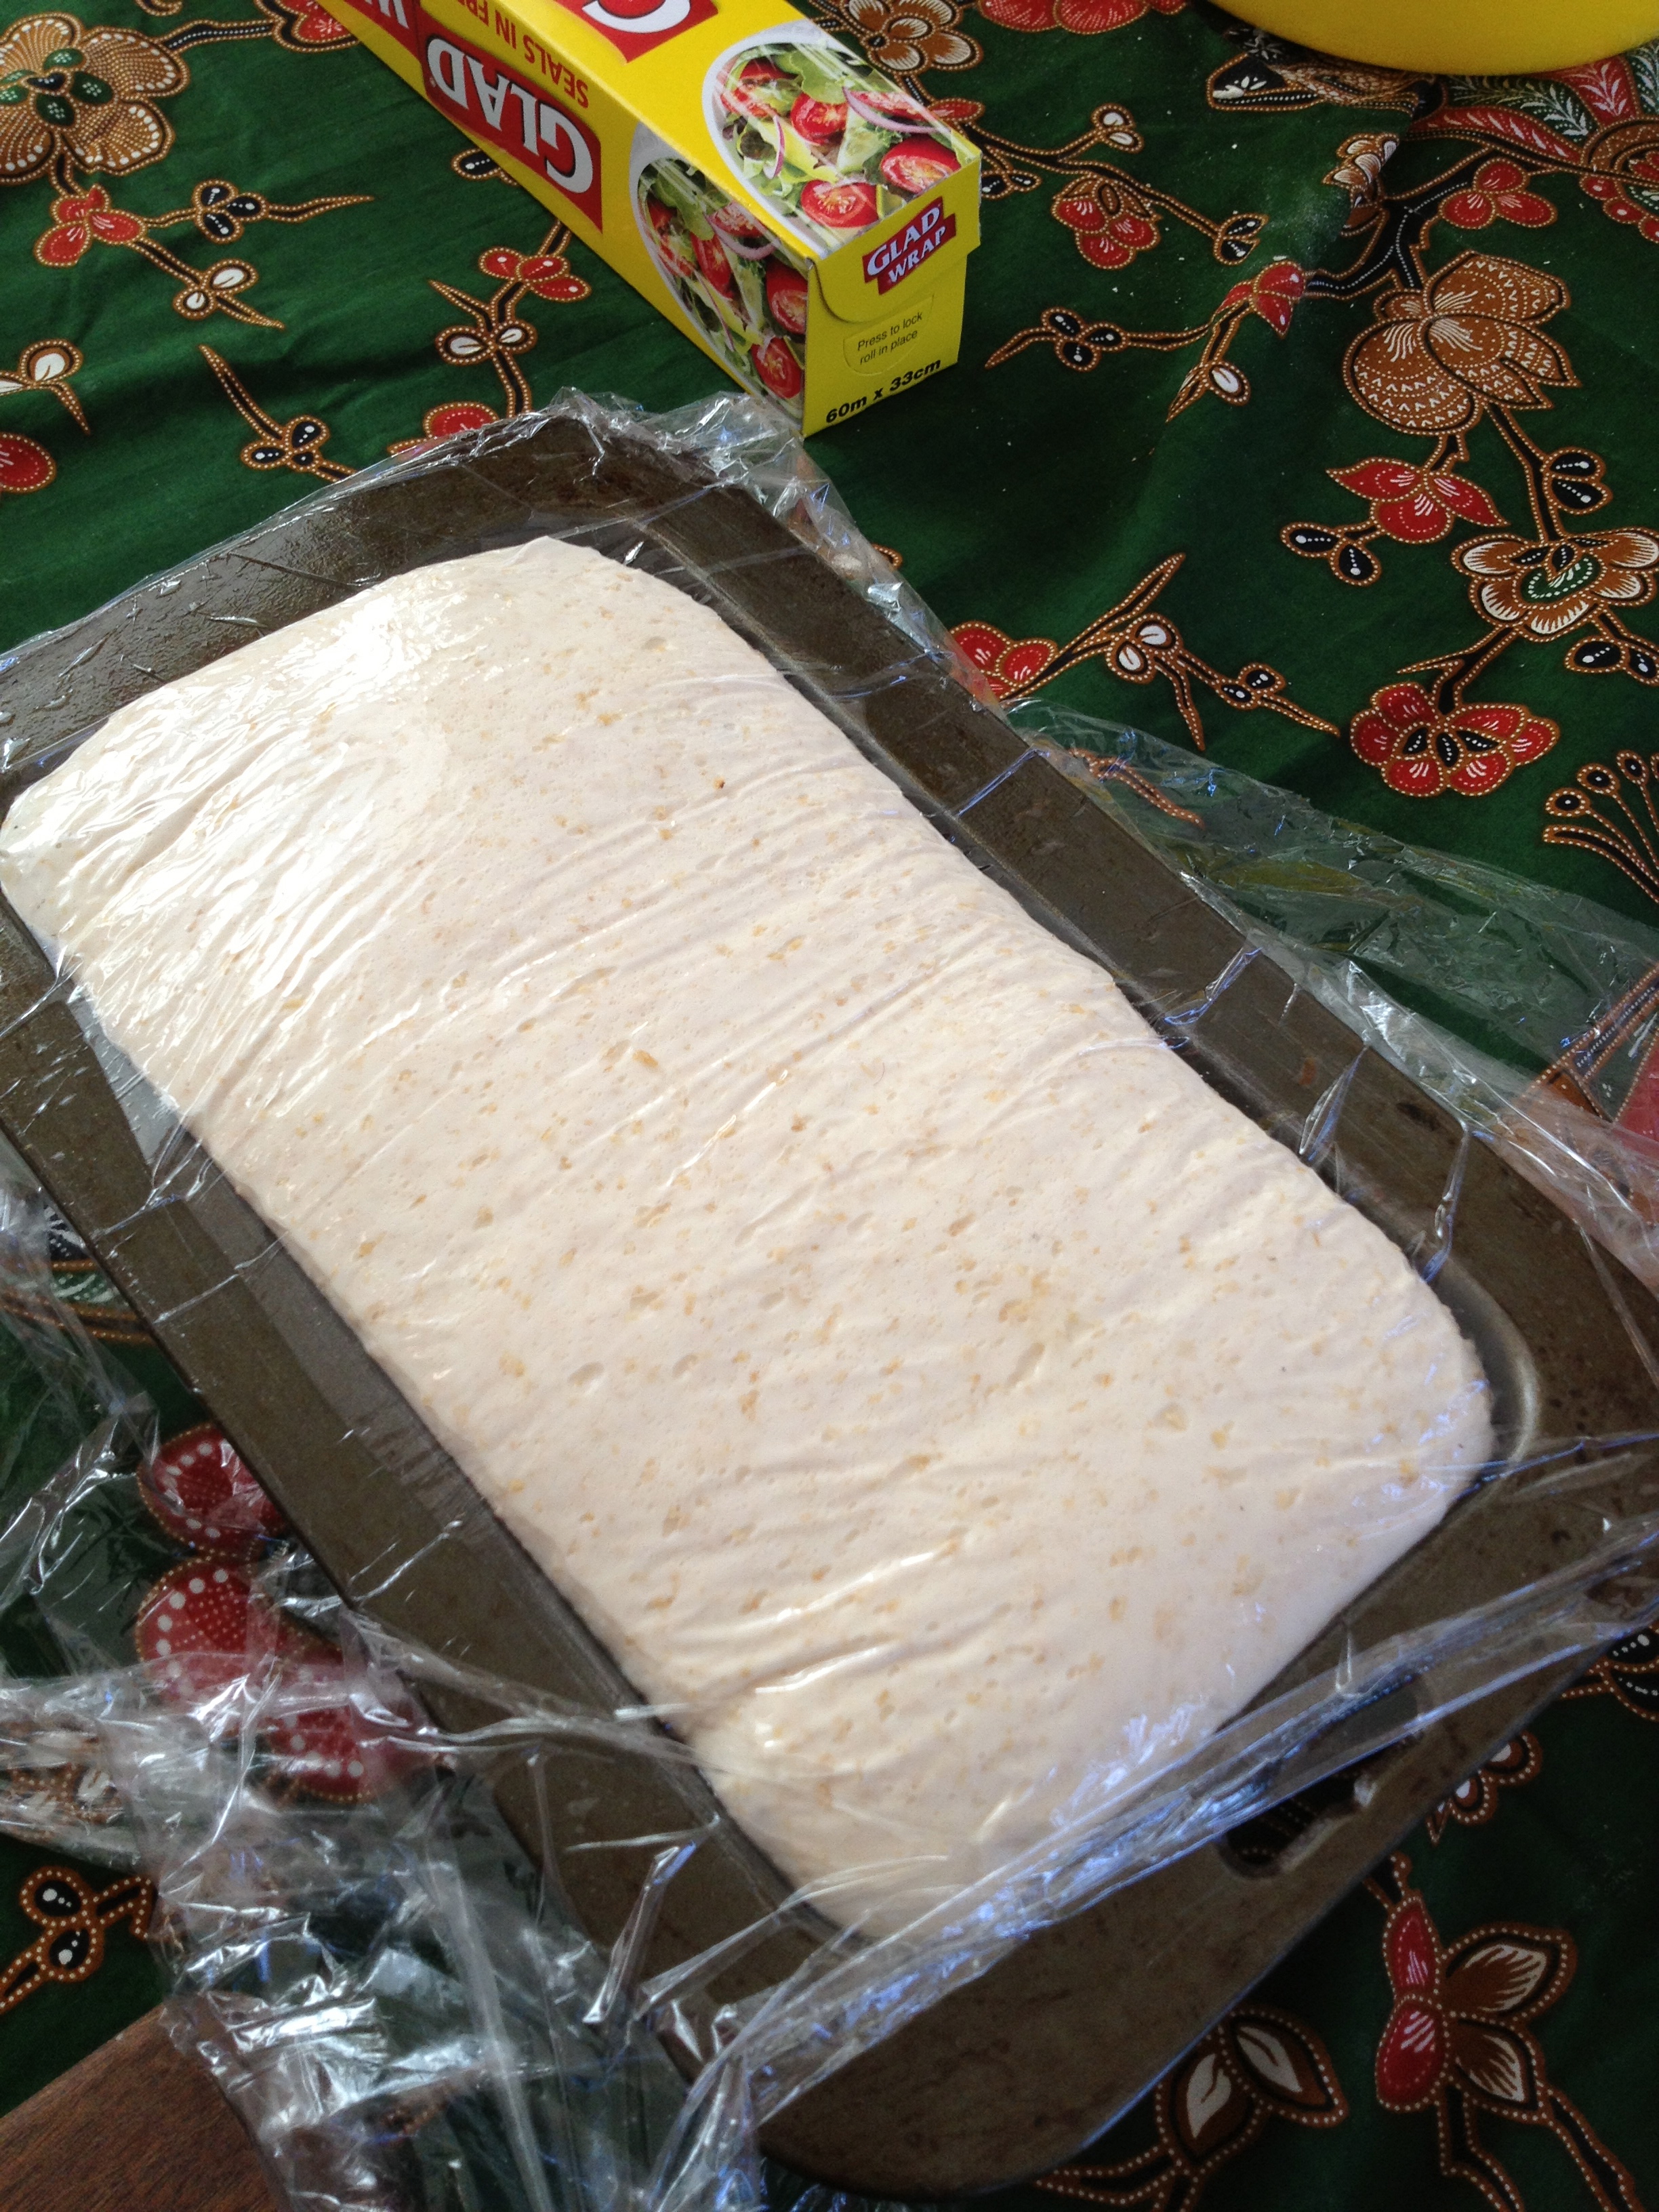
This fabulous-looking gloop is a very effective – and sweet-smelling – household cleaner.

It’s simple to make and simple to use.

While we made ours up at Barb’s place using her thermomix, you don’t need one.

As it has no preservatives, it won’t keep long, so store it in the fridge, but make up little amounts so it’s fresh.

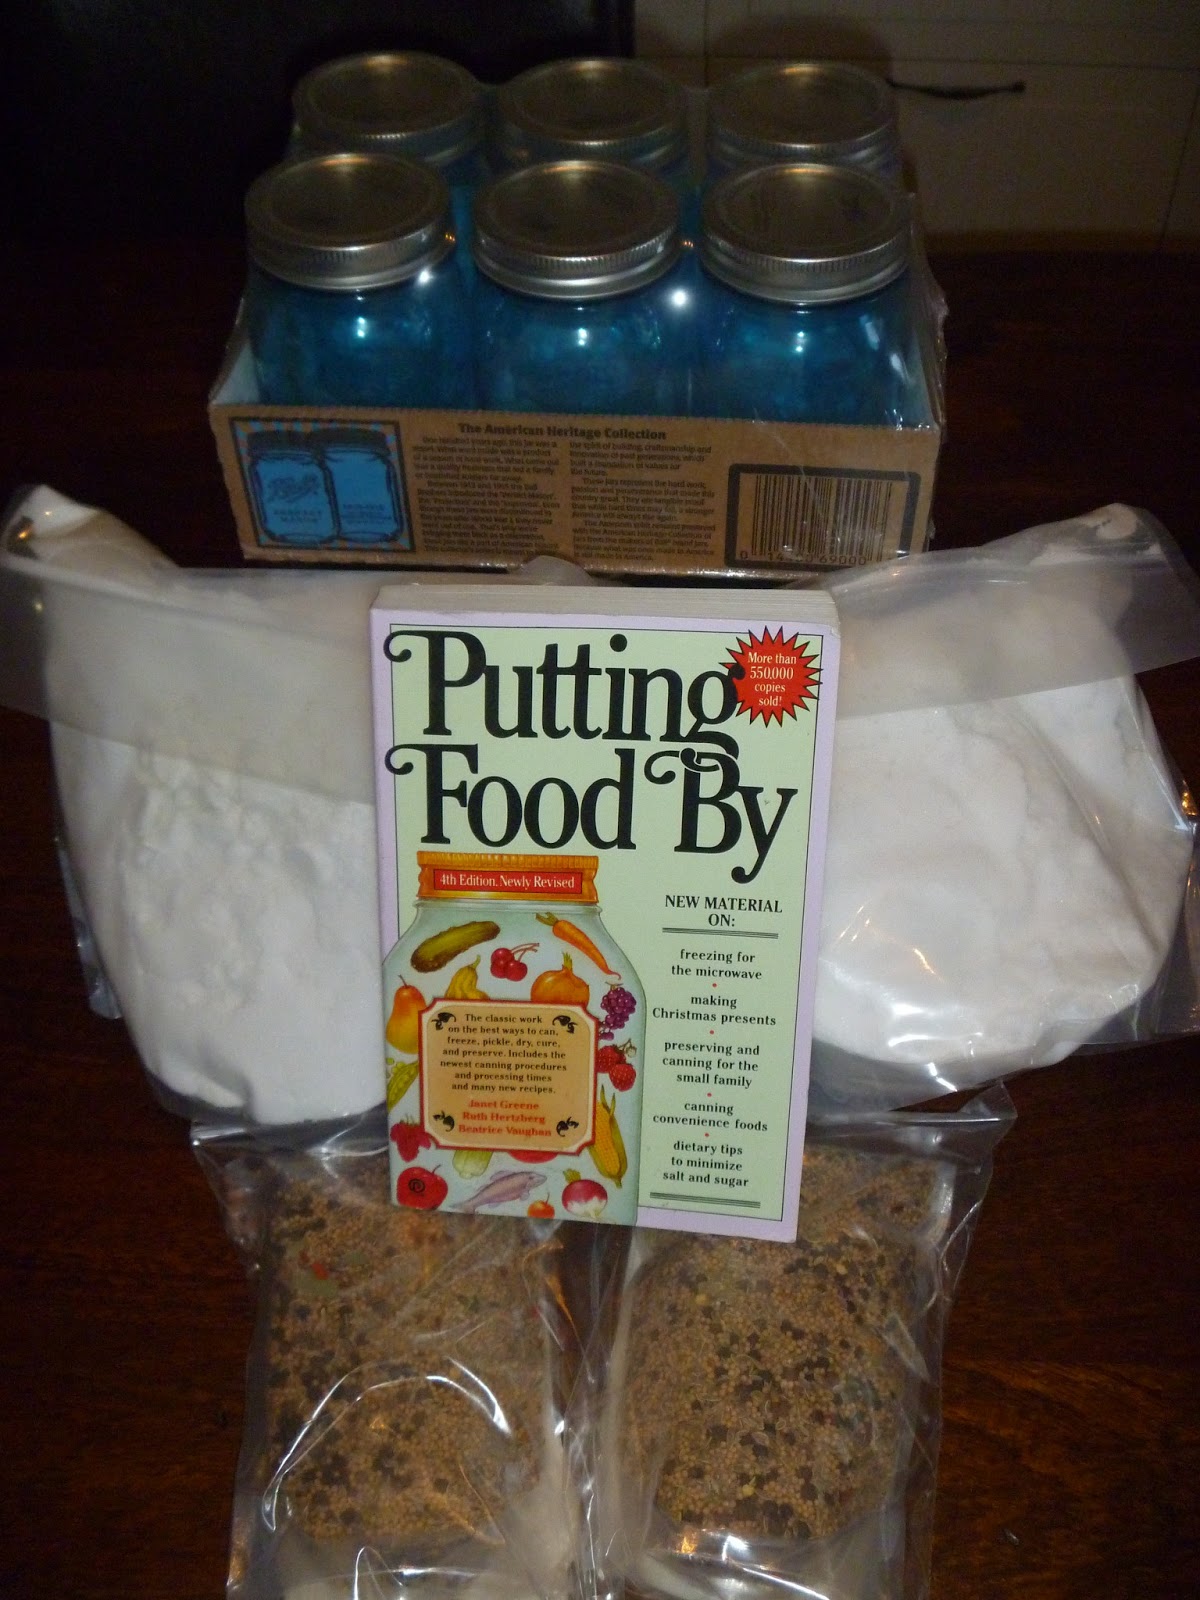
Lastly, with the aid of a dehydrator, we made spiced lemon salt.

peeled lemonsIMG_1354

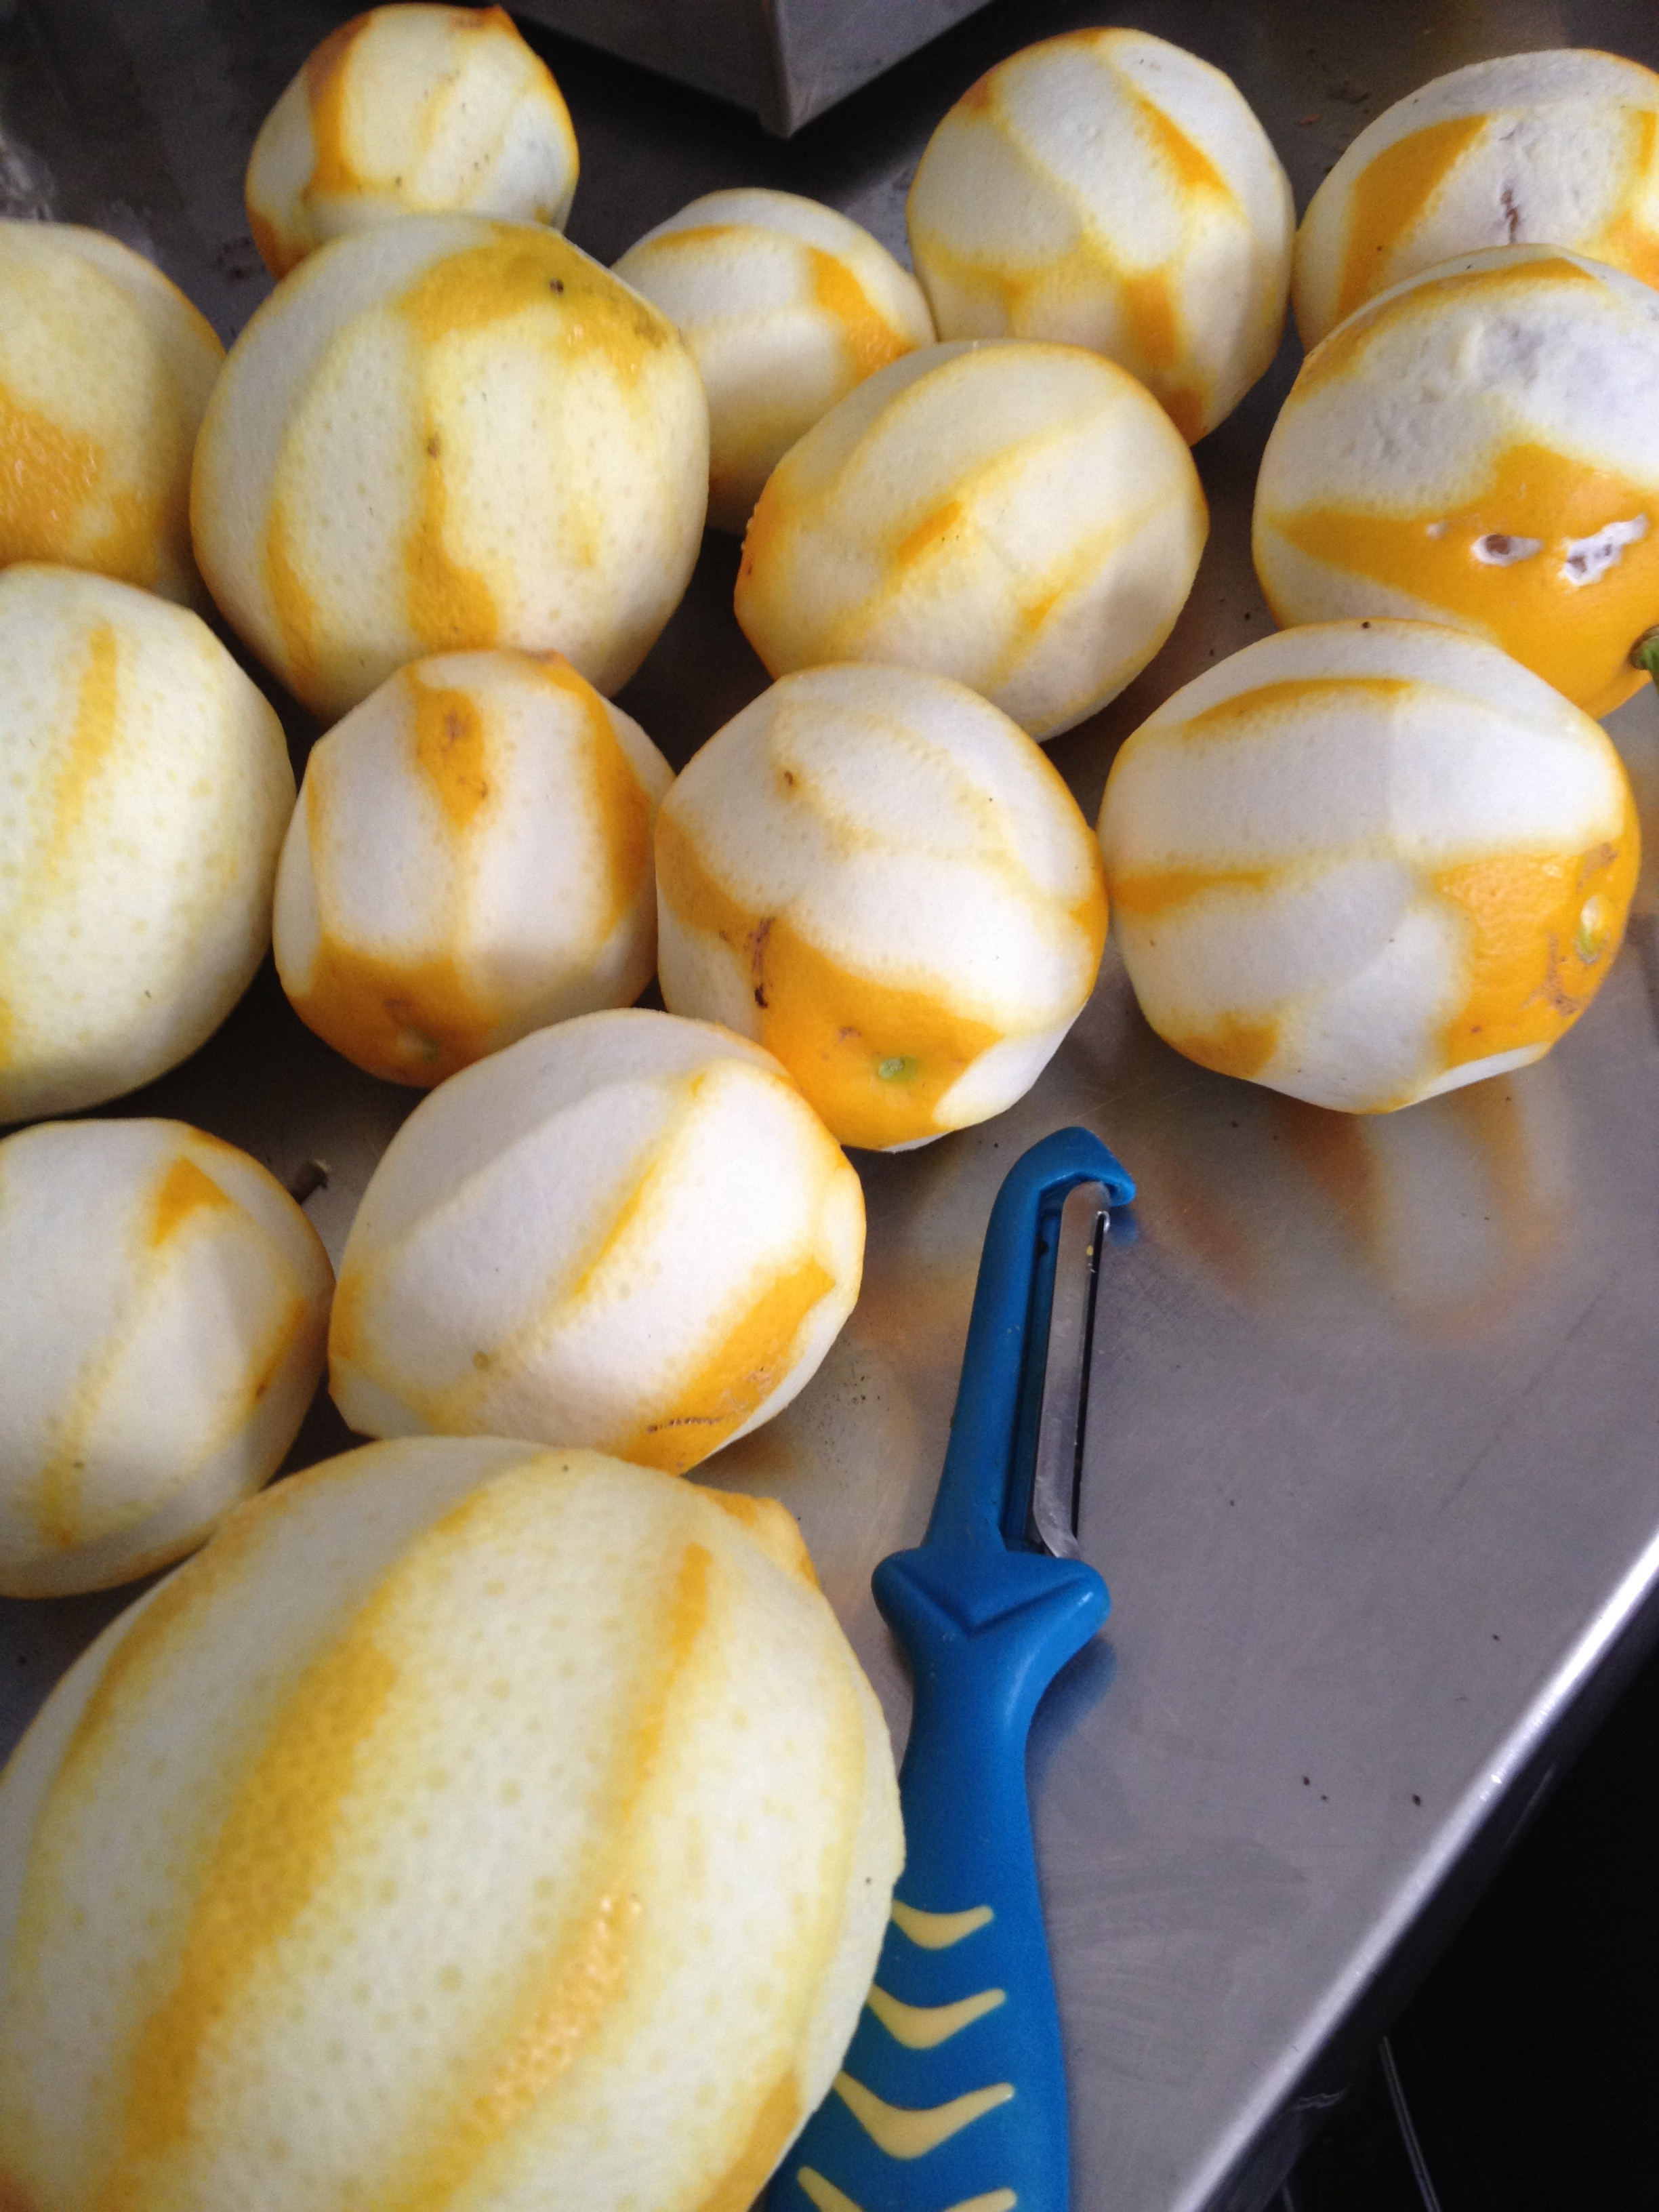
First peel your lemons, in this case 22 of them, and dehydrate.  They take about eight hours.  Don’t worry about the denuded lemons cluttering up the kitchen, we’ll think about what to do with them later…

IMG_1358Take a decent handful of dried lemon peel, a bit of salt and whole peppercorns, some fennel seed, coriander seed, fenugreek, dill seed or whatever other spice appeals and crush to a fine powder in a mortar with your pestle.

We tried this in a food processor, which mixed the components nicely, but didn’t crush them.  Then someone had a brainwave and we added fresh basil – divine as a rub for roast meat or over root vegetables.

Now how many people will be saving little jars and filling them with spiced lemon salt as Christmas presents?

Advertisement

Kitchen Gardeners do sourdough and soup

This was one of the more anticipated workshops of the year, one that’s been in planning since December when we happened to meet Keith.

Keith has been making his own sourdough for at least 17 years, much to the delight of his family and friends.  It was most gracious of him to agree to not only teach us how to make a mouthwatering loaf, but to share his sourdough starter – the mother.

IMG_1302Due to time constraints, (sourdough bread first prove takes about six hours) Keith brought three loaves already baked, and one ready to go into the oven.

He also took us through making a loaf from scratch.


IMG_1304

Since it was winter and nobody needs an excuse for soup to go with really fresh bread, we also had soup.  Two different kinds: tomato and leek and bacony pumpkin.

To make your own sourdough bread, you’ll need two cups of sourdough mother, to which you add another two cups of organic flour.  Stone ground is best, but don’t put more than one cup of wholemeal flour in unless you like quite a heavy loaf.  Add one teaspoon each of salt and sugar, mix with your hands, adding a little more flour if the dough is too sticky.  Knead lightly on floured board, then rub the inside of your mixing bowl with a little oil, put the dough back in the bowl, cover with cling film or a wet tea towel and leave it to prove.

Keith suggests you do this bit before work, leave it to prove while you’re at work and it should be ready for the next step when you get home.

Knock the dough down and give it a light knead, then put it in an oiled or floured loaf tin, cover with damp cling film or a wet tea towel and leave it another hour or two to double in size.

When it’s twice its original size, bake about 25 minutes in a 260 degree oven.  You’ll know it’s done by the gorgeous smell coming from your oven, it’s golden and crisp on top and sounds hollow when you tap it.

IMG_1307

If you happen to have a bit of leftover dough, this makes excellent pizza!


Tomato and leek soup serves four

8 tomatoes, halved
handful fresh thyme
1 large leek, sliced finely
1 tablespoon butter
sliver preserved lemon
500ml vegetable stock
salt and pepper

Place tomato halves, cut side up on a bed of thyme sprigs, sprinkle with salt and pepper and roast for about four hours in a slow oven

Saute leek in butter with a bit more thyme until it just starts to caramelise, stir through finely chopped preserved lemon.

Add tomatoes, then stock and simmer for about 20 minutes until all vegetables are thoroughly cooked.

Whiz in the blender (or with a stick blender) adjust seasoning and serve with fresh sourdough bread.

Dill Pickles

For the long weekend we had a nice relaxing time down in Pemberton, about four hours south-east of Perth. Upon our return I found quite a few cucumbers a good size for making my first attempt of dill pickles! Thankfully today my order from OzFarmer.com arrived that contained lots of wonderful things I needed to make my pickles, so I got cracking!

I didn’t have a huge amount of cucumbers, probably about 15 small to medium, but I didn’t want to leave them on the vine any longer as the plants themselves seemed to have died off with what looked like a while dusting of mold on the leaves while we were away, and I wanted to get some pickles out of them before they died completely. I’ll have to do some more research on what this might be, there did seem to get a lot of aphids and ants on the cucumber plants while they were growing, which I did try to deal with some organic pest control, but it didn’t seem to do a huge amount of good.

This was the harvest mid clean. Not a huge harvest, but still better than none! I had intended on putting the cucumbers in two 1 litre jars, but upon packing found I had too many for just one, and too little for two, so I decided to use the beautiful smaller blue vintage ball jars I ordered and that has just arrived that day. I also used a Kosher Dill Pickle pre-made spice that also had something to make them extra crunchy, along with some vinegar and water and brought that to the boil. Then in it went and back into the boiling water canner for 15 minutes. All three of my jars got a nice loud pop when sealed, so I was happy.
  
 These were the large 1 litre jars packed but not full enough. How annoying. But these things happen, so we persevere! I did have the chance to use all my new fancy canning equipment seen above, which made canning so much easier!
 These are the three smaller jars packed with pickles shortly before adding the brine. I think I could have packed them a bit tighter as once the brine was in them they all floated to the top of the jars, so you could see how much space was left in the jars, but a lesson well learned I guess, I didn’t want to over pack them.

Finished product! Three little beautiful jars of homemade pickles! I am so going to get some more of these blue vintage inspired ball jars in different sizes as they are so pretty! Will make storing my canning jars more of a work of art rather than just trying to shove my jars somewhere out of the way! Maybe I’ll put in a high rail all along the kitchen and sit them up there until I use them…. We’ll see what Dave thinks of this idea. 😉

The haul from OzFarmer.com, my beautiful blue jars, enough canning salt to last until the apocalypse, pickling spice and the very helpful book of Putting Food By. New bedtime reading methinks!!

By Steering Member Kim Farnell, first posted on her own blog Barbaloot Suits and Garden Boots. We look forward to hearing what they taste like! 🙂