Author Archives: Elizabeth LiketheQueen

Kitchen Gardeners do sourdough and soup

This was one of the more anticipated workshops of the year, one that’s been in planning since December when we happened to meet Keith.

Keith has been making his own sourdough for at least 17 years, much to the delight of his family and friends.  It was most gracious of him to agree to not only teach us how to make a mouthwatering loaf, but to share his sourdough starter – the mother.

IMG_1302Due to time constraints, (sourdough bread first prove takes about six hours) Keith brought three loaves already baked, and one ready to go into the oven.

He also took us through making a loaf from scratch.


IMG_1304

Since it was winter and nobody needs an excuse for soup to go with really fresh bread, we also had soup.  Two different kinds: tomato and leek and bacony pumpkin.

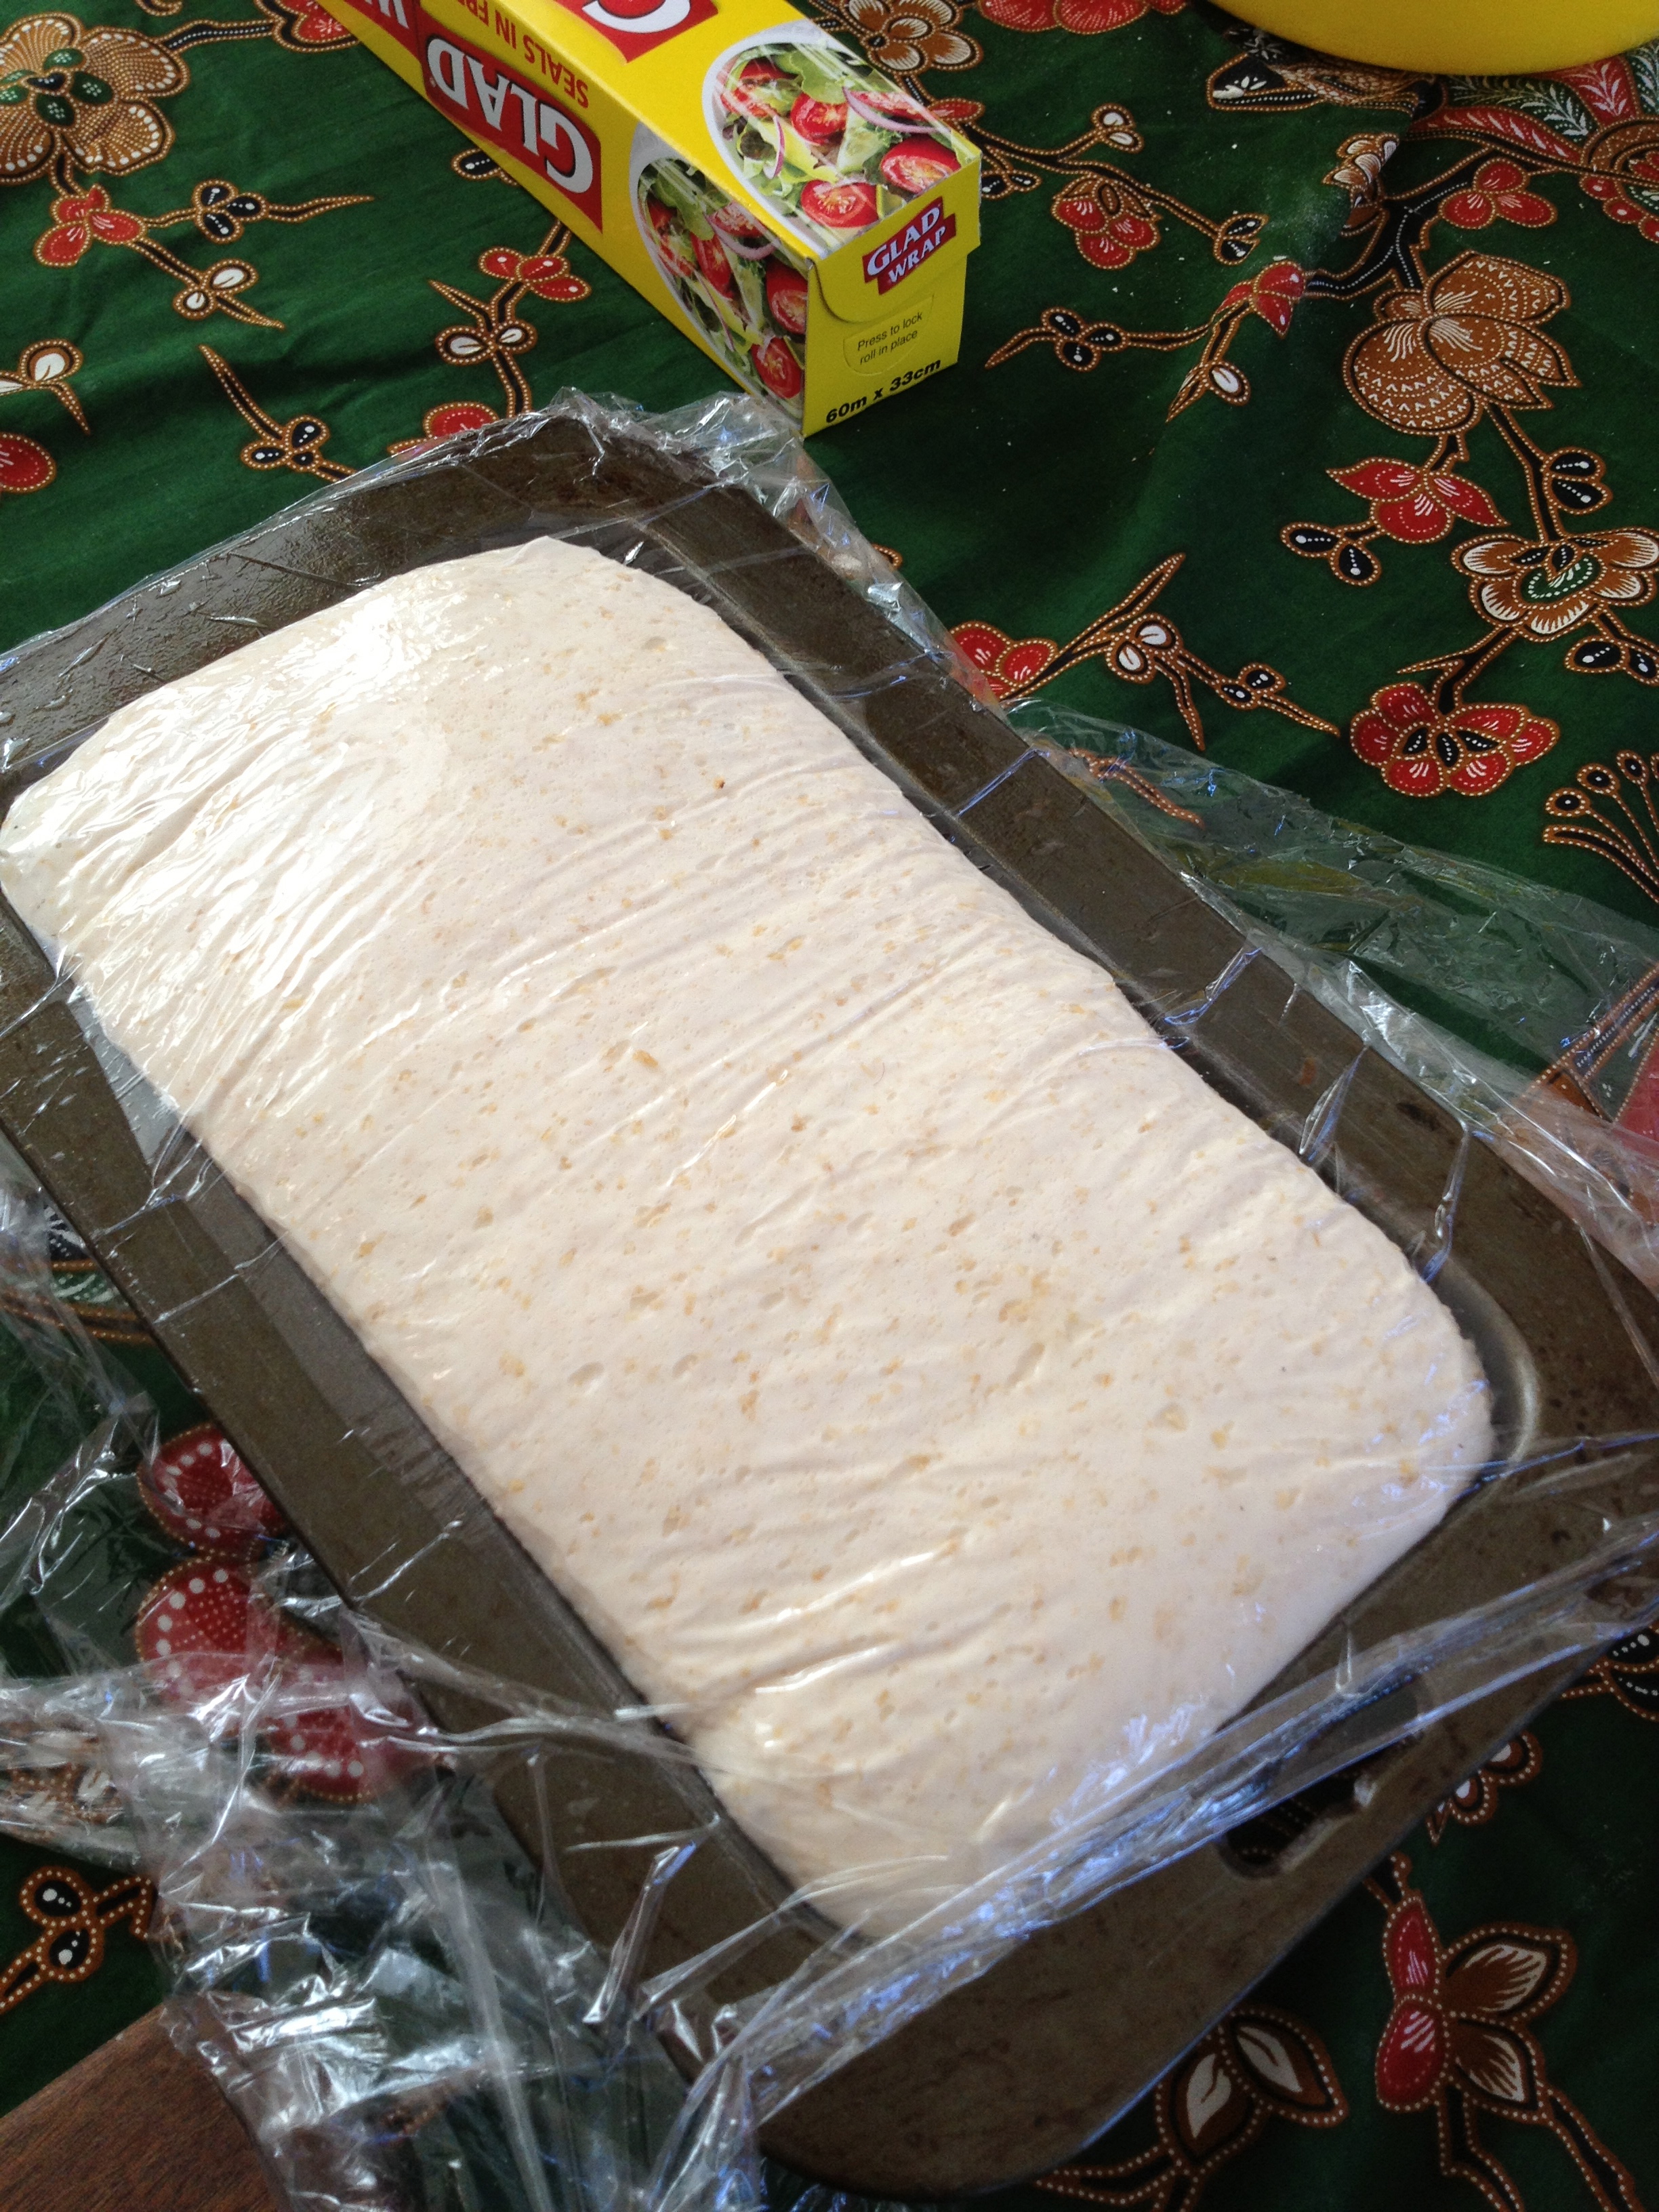
To make your own sourdough bread, you’ll need two cups of sourdough mother, to which you add another two cups of organic flour.  Stone ground is best, but don’t put more than one cup of wholemeal flour in unless you like quite a heavy loaf.  Add one teaspoon each of salt and sugar, mix with your hands, adding a little more flour if the dough is too sticky.  Knead lightly on floured board, then rub the inside of your mixing bowl with a little oil, put the dough back in the bowl, cover with cling film or a wet tea towel and leave it to prove.

Keith suggests you do this bit before work, leave it to prove while you’re at work and it should be ready for the next step when you get home.

Knock the dough down and give it a light knead, then put it in an oiled or floured loaf tin, cover with damp cling film or a wet tea towel and leave it another hour or two to double in size.

When it’s twice its original size, bake about 25 minutes in a 260 degree oven.  You’ll know it’s done by the gorgeous smell coming from your oven, it’s golden and crisp on top and sounds hollow when you tap it.

IMG_1307

If you happen to have a bit of leftover dough, this makes excellent pizza!


Tomato and leek soup serves four

8 tomatoes, halved
handful fresh thyme
1 large leek, sliced finely
1 tablespoon butter
sliver preserved lemon
500ml vegetable stock
salt and pepper

Place tomato halves, cut side up on a bed of thyme sprigs, sprinkle with salt and pepper and roast for about four hours in a slow oven

Saute leek in butter with a bit more thyme until it just starts to caramelise, stir through finely chopped preserved lemon.

Add tomatoes, then stock and simmer for about 20 minutes until all vegetables are thoroughly cooked.

Whiz in the blender (or with a stick blender) adjust seasoning and serve with fresh sourdough bread.

Pasta, pesto and cheese

It seems lots of people have pasta rollers gathering dust at the back of kitchen cupboards, and when Elizabeth called for suggestions for workshops for Kitchen Gardeners in 2013, that was one echoed by lots of us.

And what a wonderful idea it was!  Combined with fresh mozzarella, pesto and gnocchi, the fettuccine we made was a hit.

This was the smallest workshop we’ve ever run, and with that menu, it was also the most intense.  With everything timed and timetabled, we did get through all four in the afternoon, but only just!  Here’s Sarah stretching mozzarella.

Cheese5

Under the careful instruction of cheese whiz Dan, we all got to take home the most heavenly bocconcini.

DSC03733

Michelle and Amanda, with supervision from young Eli, roll out their fettuccine.

Pesto2

Everyone raided their gardens for basil for pesto.  Simon (the one with the intense expression at the back) has put a lot of thought into his pesto and believes the key is in equal parts of nuts and cheese, with careful addition of basil because our harsh climate produces sometimes bitter leaves.  We tested this theory and agree.

nochi1

Gnocchi is ridiculously simple to make and quite delicious.

Finally, a document with the recipes – pasta pesto cheese recipes April 2013.

In case you missed it – preserving the harvest

There was rain, there was thunder and lightning and squally wind.  It was a dose of winter at the end of Spring, and it was NOT going to stop the Kitchen Gardeners holding their Preserving the Harvest workshop.

The plan had been to make marmalade, lemon curd, lemon cordial, tomato passata and Moroccan preserved lemons.  Well, four out of five is pretty good.

Tomatoes, ready for processing

We managed to process something like 30kg of tomatoes into passata, flavoured with garlic, thyme and oregano.

We also made up a dozen or so jars of Debra’s microwave lemon curd (recipe at the end) and two batches of marmalade using Elizabeth’s Great-Nana’s guaranteed recipe (recipe also following).  Debra also made just enough lemon cordial for us all to try.

Sadly, we just didn’t get to the Moroccan lemons.  There was a bit of a jar issue and, well, we just ran out of time.  What with having to try two different kinds of marmalade, some experimental kiwifruit jam and the lemon curd on Peter’s turkish bread, you get the picture…

Bev and Kim with great piles of tomatoes

Debra’s microwave lemon curd 

  • 3 large eggs plus 2 egg yolks
  • 1/2 to 3/4 cups caster sugar (adjust for your personal sweetness preference)
  • 1/2 to 3/4 cup lemon juice plus finely grated zest (can substitute some  passionfruit pulp and or lime juice within this quantity)
  • 125 g unsalted butter, melted

Whisk all ingredients together in a glass or ceramic bowl.

Microwave @  50% power for 10-12 minutes, stirring well after each minute until the mixture thickens.

Bottle in clean glass jars & store in fridge.  Use within 3 weeks.

*can be cooked on the stove using a double boiler on medium heat, stirring regularly to avoid curdling.  REMEMBER TO STORE IN FRIDGE!

Orange marmalade and tomato passata

Elizabeth’s Great-nana’s guaranteed marmalade

  • 1lb citrus fruit, sliced very finely
  • 2 pints water
  • 3lb granulated sugar

Slice citrus finely and remove pips.

Put fruit and water into your jam pot and simmer until the fruit is soft – this is important as once you put the sugar in, no further cooking occurs.  If you don’t get the fruit really soft first up, your marmalade will be impossible to chew.

Put your jars and lids into a 120deg C oven to sterilise them.  It’s important that your jam goes into hot jars – hot jam into cold jars is likely to end in an explosion.

Once the fruit is soft, add sugar and boil to setting point.  To check setting point, put a dribble of marmalade on a saucer you’ve had in the freezer for 10 minutes.  Marmalade at setting point will crinkle when you push your finger through it.

Leave the marmalade to sit for 10 minutes.  This is also important – slightly cooled marmalade will mean your fruit is evenly distributed in the jar, rather than floating on the top.

Pour into sterilised jars, seal and label.

*1 pint = 600ml, 1 lb = 455g

We are planning on having another preserving workshop in February 2013, but in the meantime – Happy preserving!