Category Archives: Kitchen Gardeners

Loving your fruit trees

Lots of Kitchen Gardeners have talked about pruning their fruit trees with something akin to dread – the things that could go wrong!  But pruning your apples and plums isn’t nearly as fraught as you might think.

IMG_1387

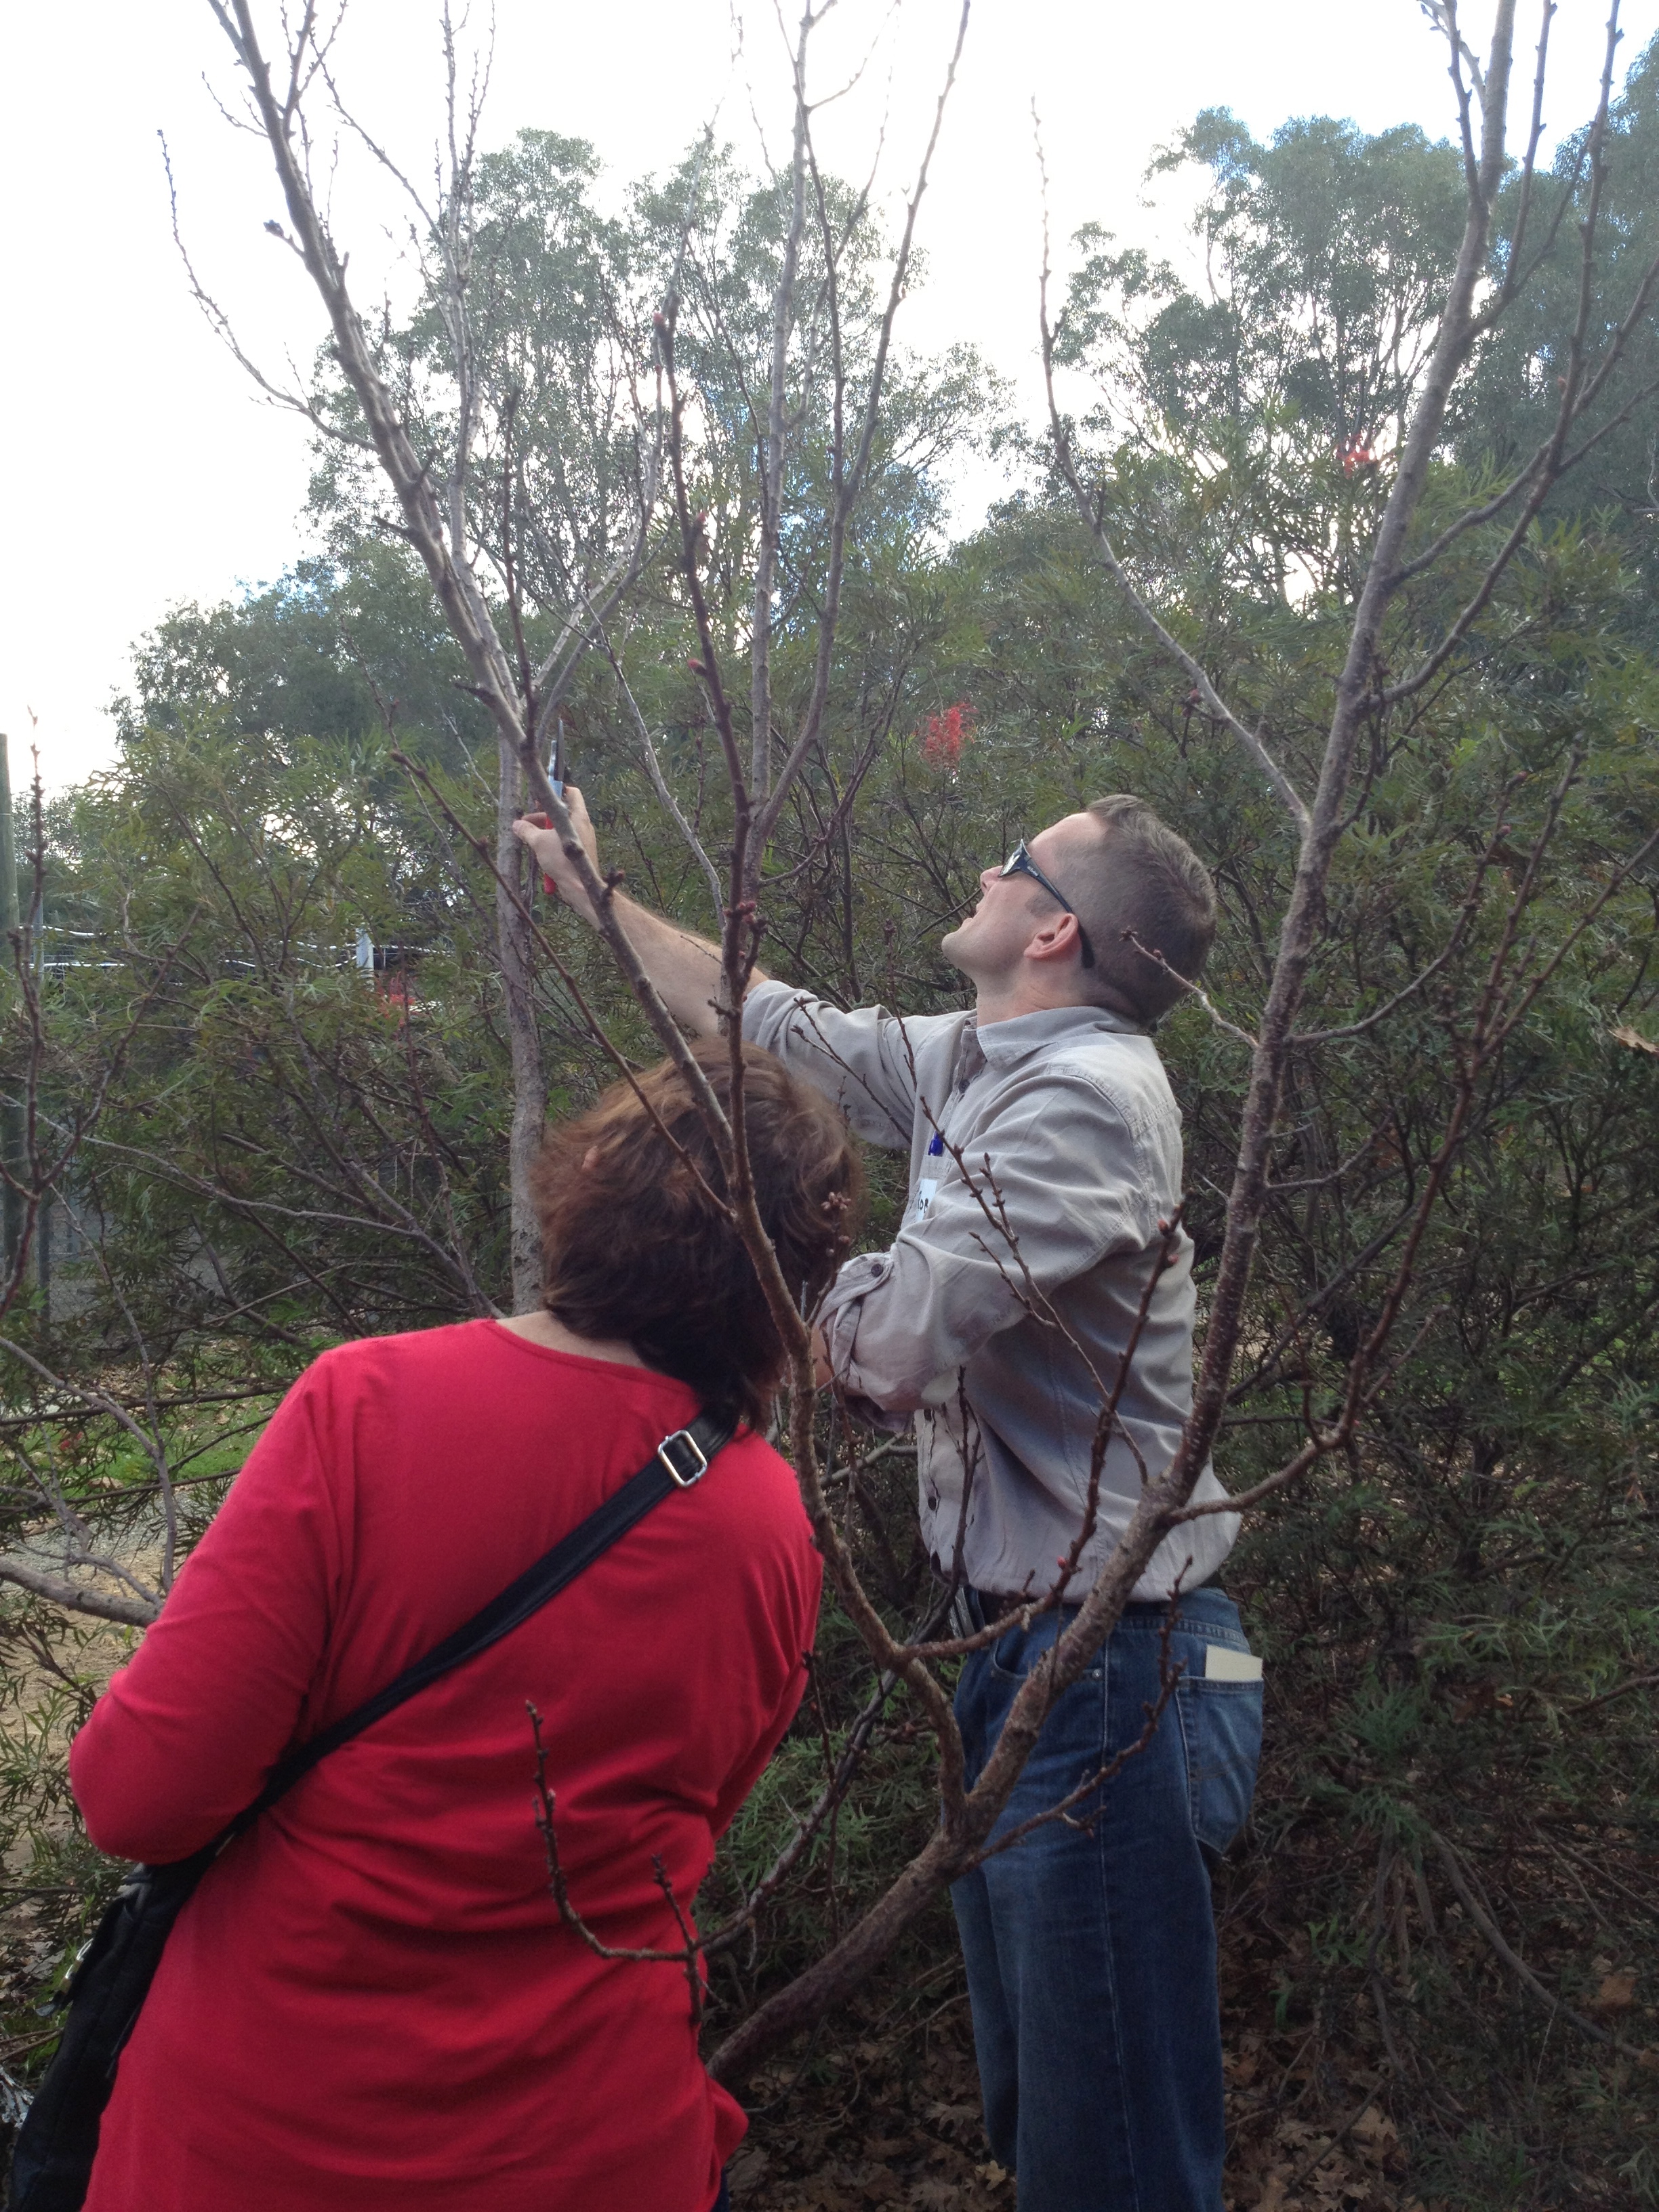
Meet Rob.  Rob grew up on a biodynamic farm long before it was fashionable.  He has lots of amusing stories about dealing with the flummoxment of the experts from the Agriculture Department.

He’s pruned thousands of trees, starting when he was just a kid.

We were most grateful he agreed to share what he’s learnt about the care and maintenance of stone fruit, pome fruit and citrus.

IMG_1385This is a very neglected apricot tree,  probably not pruned for five years.

It’s grown into an odd shape, and it overhangs a driveway.  While it’s healthy, it was not in a particularly good shape for fruit production, easy harvesting or good air-flow, which is important to reduce the likelihood of infestation or fungal infection.

The first principle Rob shared was that you can prune a tree any way you like but there will be consequences.  If you take out old growth on a tree that fruits on old growth, you can expect a reduced yield the next season.  Likewise if you want your tree to offer  you shade, you should expect not to be able to reach the topmost fruit.

This apricot will fruit on new growth, and we could see flower and leaf buds just waiting to erupt.

Rob trimmed the tall branches back to a reachable height, took out boughs that crossed each other and created a funnel shape to encourage air-flow and ease of harvest.  That meant taking out quite a bit of new growth, so there will be fewer fruit this year, but next year it should have a much larger yield.

IMG_1390This citrus, on the other hand, is not in a good position.  It doesn’t get enough direct sunlight and is competing also for water and nutrients with several other trees.

It has citrus leaf miner (spray with eco pest oil) and aphids (blast off with a jet of water from the hose).

Rob’s advice was to move it to give it the best chance of good growth and fruit.

Some other important things to remember:

  • Sterilise your tools between trees so as not to spread any infection.  A rag soaked in metho is cheap and easy.
  • Keep your tools sharp so your cuts are clean, reducing the chance of open cuts festering.
  • Keep weeds and mulch away from tree trunks to discourage collar rot.
  • Liquid feeding trees around the drip line is the most effective way of boosting fruit production and general tree health.
  • The best way to deal with fruit fly, which is a major problem in Perth, is to individually net fruit once it has set with a drawstring net bag.
  • Pruning can be done in winter or late summer/early autumn once a tree has finished fruiting.

Rob has agreed to do another pruning workshop next year, if you missed this one and are interested.

Mellow yellow

All the lemon trees are laden, their branches groaning under their loads and everyone looks pained at the thought of wasting such abundance.

Armed with about 30kg of lemons, the Kitchen Gardeners tackled the job at their July workshop, generously hosted by Barb.

First up, preserved lemons.

IMG_1356They’re very simple to make and have lots and lots of culinary uses.

As well as the two recipes on the linked document, a quarter of preserved lemon rind, chopped finely adds a sophisticated undertone to beef casseroles and soups.

They’re lovely in chicken dishes and with fish.

Just don’t eat the flesh of the lemon, it’s horrible.  The rind is the good stuff!

Lemons are great to eat, but their uses don’t stop there!

IMG_1357This fabulous-looking gloop is a very effective – and sweet-smelling – household cleaner.

It’s simple to make and simple to use.

While we made ours up at Barb’s place using her thermomix, you don’t need one.

As it has no preservatives, it won’t keep long, so store it in the fridge, but make up little amounts so it’s fresh.

Lastly, with the aid of a dehydrator, we made spiced lemon salt.

peeled lemonsIMG_1354

First peel your lemons, in this case 22 of them, and dehydrate.  They take about eight hours.  Don’t worry about the denuded lemons cluttering up the kitchen, we’ll think about what to do with them later…

IMG_1358Take a decent handful of dried lemon peel, a bit of salt and whole peppercorns, some fennel seed, coriander seed, fenugreek, dill seed or whatever other spice appeals and crush to a fine powder in a mortar with your pestle.

We tried this in a food processor, which mixed the components nicely, but didn’t crush them.  Then someone had a brainwave and we added fresh basil – divine as a rub for roast meat or over root vegetables.

Now how many people will be saving little jars and filling them with spiced lemon salt as Christmas presents?

Kitchen Gardeners do sourdough and soup

This was one of the more anticipated workshops of the year, one that’s been in planning since December when we happened to meet Keith.

Keith has been making his own sourdough for at least 17 years, much to the delight of his family and friends.  It was most gracious of him to agree to not only teach us how to make a mouthwatering loaf, but to share his sourdough starter – the mother.

IMG_1302Due to time constraints, (sourdough bread first prove takes about six hours) Keith brought three loaves already baked, and one ready to go into the oven.

He also took us through making a loaf from scratch.


IMG_1304

Since it was winter and nobody needs an excuse for soup to go with really fresh bread, we also had soup.  Two different kinds: tomato and leek and bacony pumpkin.

To make your own sourdough bread, you’ll need two cups of sourdough mother, to which you add another two cups of organic flour.  Stone ground is best, but don’t put more than one cup of wholemeal flour in unless you like quite a heavy loaf.  Add one teaspoon each of salt and sugar, mix with your hands, adding a little more flour if the dough is too sticky.  Knead lightly on floured board, then rub the inside of your mixing bowl with a little oil, put the dough back in the bowl, cover with cling film or a wet tea towel and leave it to prove.

Keith suggests you do this bit before work, leave it to prove while you’re at work and it should be ready for the next step when you get home.

Knock the dough down and give it a light knead, then put it in an oiled or floured loaf tin, cover with damp cling film or a wet tea towel and leave it another hour or two to double in size.

When it’s twice its original size, bake about 25 minutes in a 260 degree oven.  You’ll know it’s done by the gorgeous smell coming from your oven, it’s golden and crisp on top and sounds hollow when you tap it.

IMG_1307

If you happen to have a bit of leftover dough, this makes excellent pizza!


Tomato and leek soup serves four

8 tomatoes, halved
handful fresh thyme
1 large leek, sliced finely
1 tablespoon butter
sliver preserved lemon
500ml vegetable stock
salt and pepper

Place tomato halves, cut side up on a bed of thyme sprigs, sprinkle with salt and pepper and roast for about four hours in a slow oven

Saute leek in butter with a bit more thyme until it just starts to caramelise, stir through finely chopped preserved lemon.

Add tomatoes, then stock and simmer for about 20 minutes until all vegetables are thoroughly cooked.

Whiz in the blender (or with a stick blender) adjust seasoning and serve with fresh sourdough bread.