We didn’t spy Tom Thumb, but we did have a lovely Kitchen Gardeners meeting on pruning on Sunday 2nd March. The workshop was led by Elizabeth, with much input from the other Kitchen Gardeners. The afternoon started with a cuppa, some nibbles and a chat, before Elle launched into the specifics of pruning and tree care. This was followed by a demonstration on the fruit trees in Flo and Tristan’s backyard which got a much-needed prune.

Elle demonstrates how to identify which limbs need pruning and how to shape the tree
Before we started pruning, we discussed the different tools required, and talked about safety and pruning hygiene. Elle had a particularly snazzy set of tools, and Barb brought her trusty snippers and shears along too. We also discussed Barb’s lemon tree and its miraculous recovery after the application of a fresh cow pat poultice…
Elle started with the mandarin tree, which was still young but already showing signs of neglect! Although the tree had four small mandarins growing, the leaves revealed the tree had undergone some stress during the heat of summer, and needed a good watering and some trace elements. There was also whipper snipper damage to the trunk: an excellent suggestion to protect the trees was the use of a piece of PVC pipe as a small collar placed around the base of the trunk.
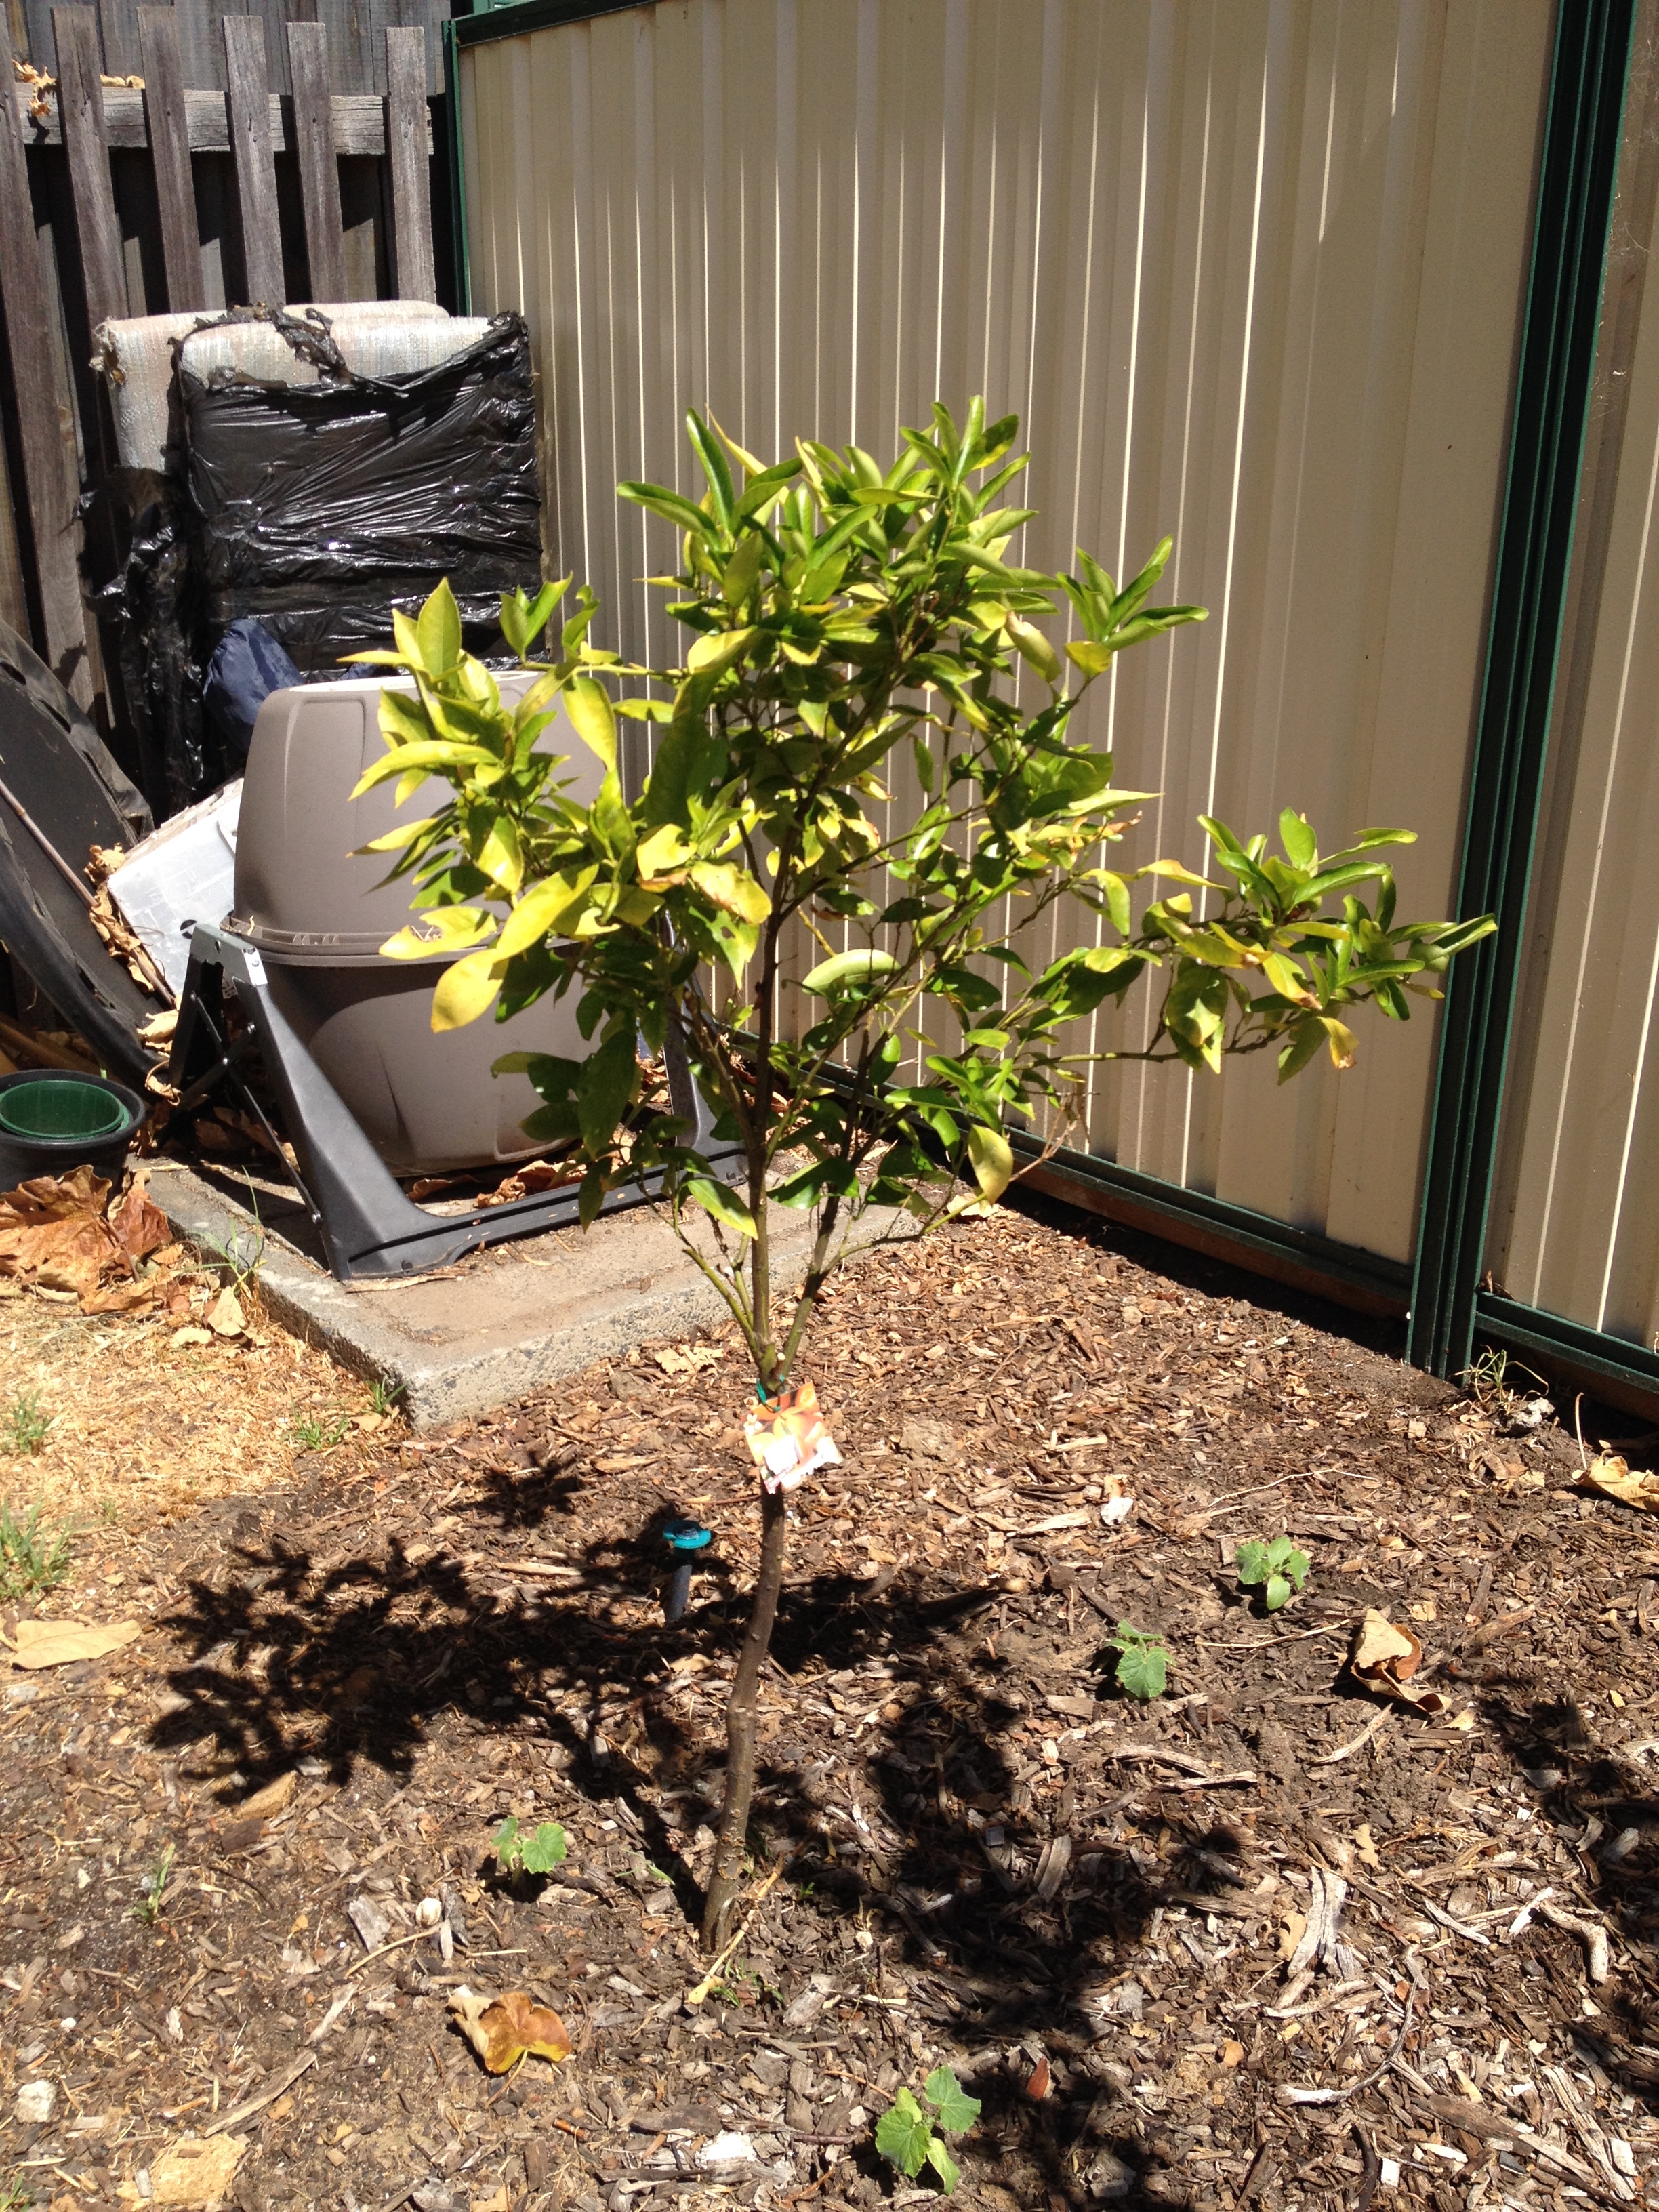
A week after pruning, the trees are clearly improving although mineral deficiency is still evident in pale leaves
The diseased, dead and damaged material was removed to promote growth: new growth produces fruit. The tree was pruned into a vase shape to allow more light and air into the middle area, thereby reducing fungal infection, allowing a better view of the tree for monitoring pests and improving access for pollinators. The vase shape may produce more fruit for less height on three or four main branches rather than one trunk.
Pruning can be done during any season, but winter pruning is best for revealing the form and shape of the tree when all the leaves are gone. The tree is dormant at that time, so the wounds take somewhat longer to heal compared to pruning after a tree has fruited.
The plumcot tree (a plum-apricot hybrid) was the next to be pruned, and here we discovered collar rot at the base of the trunk. The advice was to move away any mulch touching the trunk, and to treat the tree with trace elements and Epsom salts. Other than the collar rot, the plumcot tree was healthy growing vigorously. Elle again chose to prune into a vase shape and reduce some of the tree’s height to make it more manageable.
The peach tree was a little more tricky. Unfortunately the grafted peach had died, leaving only surviving root-stock. As the peaches being produced by the root-stock were not too shabby, we decided to perservere nurture the tree. Normally the root-stock is pruned off, as this is usually unproductive growth that sprouts from below the graft. In this case, one branch from the root-stock was left while the rest from lower down on the trunk was pruned off. Elle showed us how to prune by cutting on an angle to avoid water pooling on a wound or on wood and causing rot.
Other fruit trees that were pruned on the day included a healthy pear tree and two young citrus trees, a lemon and lime. The plum tree was not pruned as it had suffered significantly during the summer and extra care and recuperation first. The olive tree didn’t need pruning as Flo had done this some time ago.
The afternoon was a great success, and much knowledge was shared. Following the workshop, Flo applied all recommended treatments to the trees, including trace elements, extra watering, Seasol, and epsom salts. All trees, especially the plum tree, are clearly looking much better. Flo had some massive rockmelons and watermelons growing under the fruit trees, and during the week following the workshop these ripened and were picked. There were 10 delicious rockmelons and five massive watermelons (the first one picked was 15.7kg!!)

Nothing beats home grown watermelon, seen here doing double duty providing shading to preserve soil moisture around the base of fruit trees
Here are a few extra tips on pruning and tree care from Robert Brock:
- To avoid collar rot, don’t mulch right up to the trunk.
- Don’t mulch with wood chips or uncomposted mulches: as they break down they draw nitrogen from the soil.
- Thick mulch all year round can suffocate the soil. Soil is alive: it needs air, water, food and light so that soil microbes can live. They create humus and wonderful rich moist colloidal soil.
- Feed trees with well-decomposed compost spread around the drip line.
- Too much of anything is bad: raw manures can force growth in a tree or plant, much the same way that artificial fertilisers do. The plant puts out new growth to restore balance from being overfed nutrients and minerals.
- Don’t dig around your trees, you’ll damage the roots.
- Feeding and watering the tree too much on the surface will encourage roots to remain at the surface. You want your tree to send its roots down for water, nutrients and stability. The roots anchor the tree: like a fence post, you want t bury them deep not shallow).
- Artificial fertilisers and pesticides can disturb natural balance and lead to more problems. If you kill all insects then the wasps that eat scale and the lady birds that eat aphis will be gone too. Know which pests to watch for and how to control them, e.g. ants which can farm other pests such as scale.
- Pests are only a problem when they are a problem: one or two spots of scale will cause little harm. In contrast, fruit flies can be highly damaging and should be exterminated with baits while ensuring timely removal and disposal of struck fruit.
- There are several simple, effective natural remedies for a range of pest problems. Examples include soapy water for drowning aphids, and homemade white oil which is easy to prepare and takes care of a range of pests.
- Companion plant around your trees to attract beneficial insects and deter pests. For example, nasturtiums and citrus go well together as do hyssop and grapes, horse radish and apples.
Thanks to Elle our workshop leader, Florence our hostess and guess blog mistress, and Robert our expert tree pruning advisor. If you’d like to read more about pruning fruit trees, have a look here and here.